Atom and Juno: the perfect duo for Julia development
News from JuliaCon 2020! Juno is currently stable but not under active development anymore. In the near future all the features available in Juno will be implemented in the VSCode extension for Julia. You can still follow this guide and get acquainted with Juno since most of its features will remain the same in VSCode. In the next few weeks, once the transition to VSCode is complete, I’ll write an indepth guide to the new extension, so if you are interested to the topic please stay tuned!
In this tutorial you will learn how to setup a working development environment for Julia.
Introduction
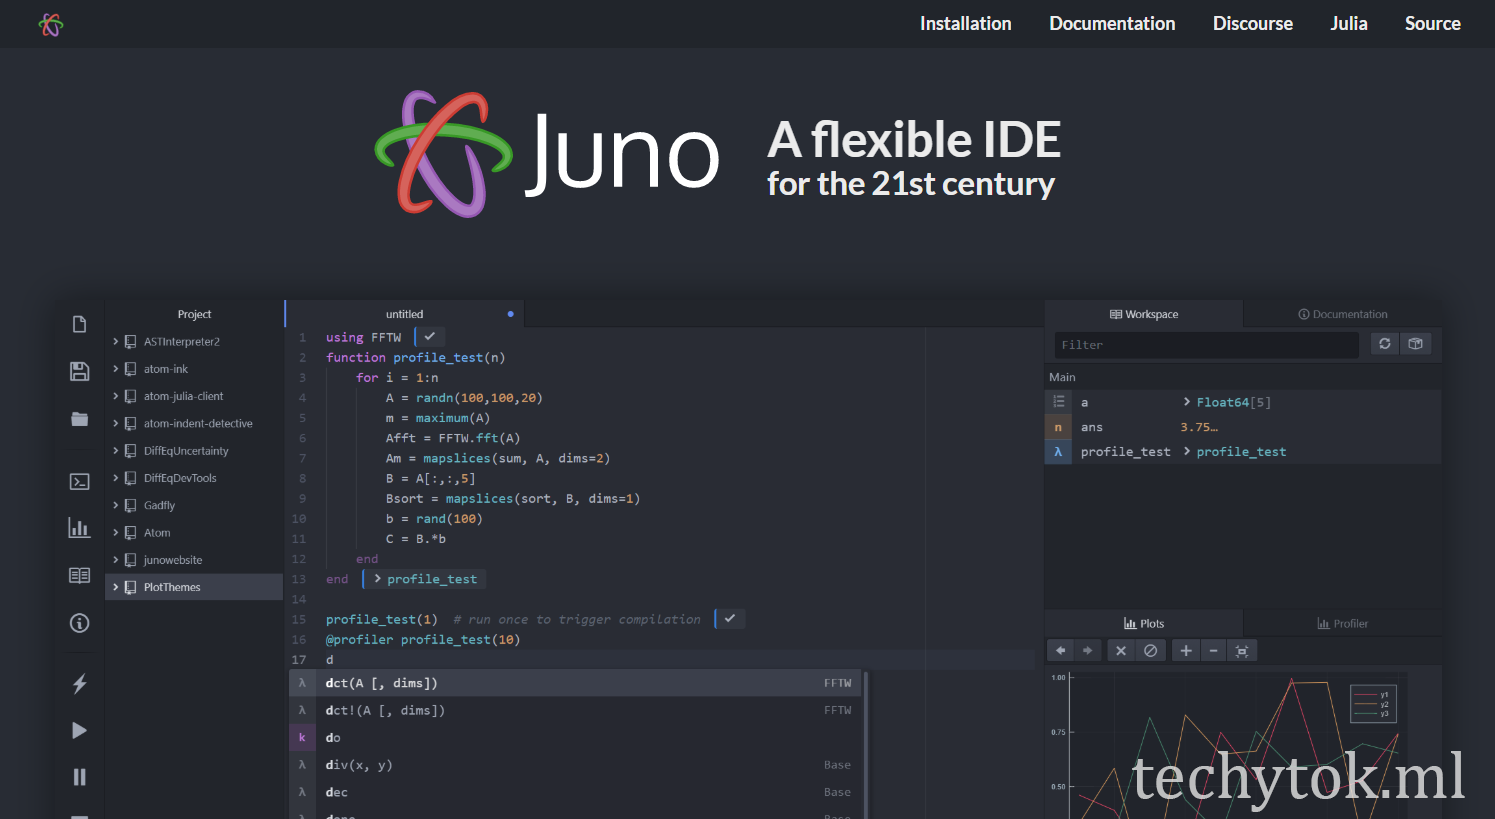
Atom is “a hackable text editor for the 21st Century”! There is a plugin for almost anything and, in particular, Juno is a great IDE meant for Julia development. It has all you need for scientific and interacting computing, as well as advanced profiling and data visualisation tools.
I will first guide you through the installation of Julia and then I’ll show you how to install Atom and setup the Juno IDE.
Install Julia
Depending on your operating system, you will need to download the appropriate Julia package from julialang.org/downloads/ . If you have Windows or OSX, just download and run the installer and follow the instructions. When you are prompted to choose an installation directory, I suggest you to choose your home directory: this way it will be easier when time comes to upgrade Julia to the next version.
If you are a Linux user, you should download and extract the archive into an appropriate folder (pay attention to the architecture of the binaries you are downloading!)
Once you have installed Julia successfully, you can move to the next section: installing atom!
Install Atom

Atom is a hackable text editor for the 21st Century!
It is basically a text editor with support for syntax highlighting and open source plugins. It is made by Github (for reference, this website is hosted at Github Pages) and it offers great flexibility: there is a set of plugins to create an IDE for almost any programming languages!
You can download Atom from here. There is not much to say about it, as there is not even anything to configure while installing it, just follow the installer!
Install and configure Juno IDE
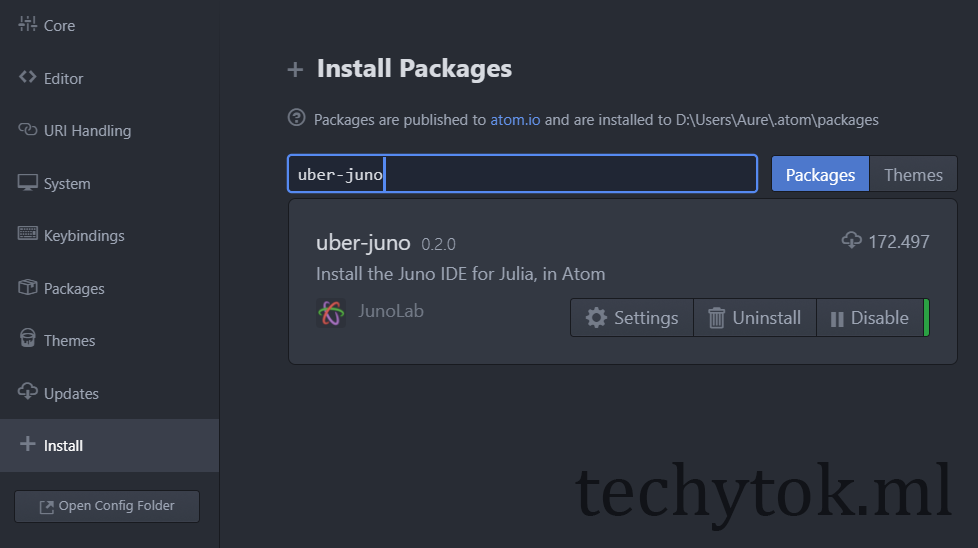
To install Juno, open atom, click on file > settings > install and type uber-juno: this is the package that you need to install. uber-juno will do everything by itself and install the IDE in a matter of minutes!
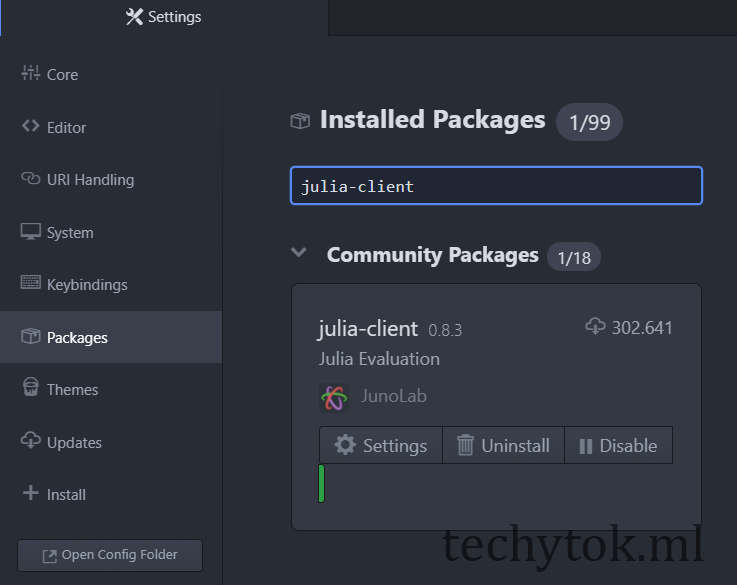
Once the setup is done, we need to tell Juno where to find the Julia binary: go to file > settings > packages and type julia-client
You should now click on settings and navigate to the Settingssection: you will find a field called Julia Path: you should type the path to the Julia executable in there.
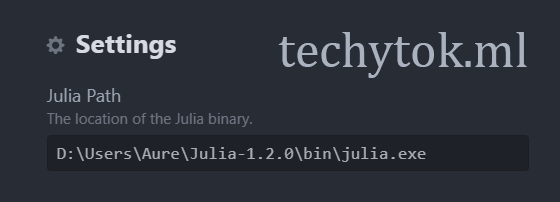
In my case, the path to my Julia executable is D:\Users\Aure\Julia-1.2.0\bin\julia.exe

If you have done everything correctly now you can start a Julia session inside atom: to do so click on the earth-like icon on the left toolbar (or go to Juno > Start Julia)
A panel should open on the lower end of Atom and you should be able to access the Julia REPL:
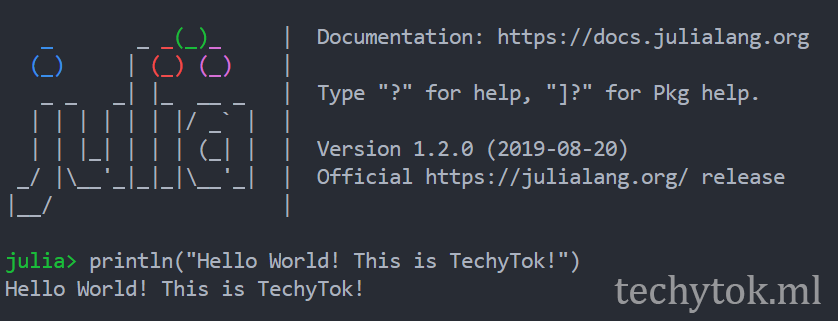
I suggest that you type the following code to check whether your setup is successful:
println("Hello World! This is TechyTok!")
Conclusions
That’s it, you have successfully installed Julia and setup the Juno IDE: easy, isn’t it? You can now start coding and start you journey in the wonderful world of the Julia Language!
If you are new to Julia, I suggest that you take a look at the wonderful JuliaComputing introductory tutorials available here: they will give you a taste of what Julia can do and you will have a chance to explore the basics of this wonderful language!
I hope you enjoyed this tutorial, if you liked it or for any questions please leave a comment below!
Stay tuned for further guides and tutorials here, at TechyTok!


Leave a comment