

Introduction to the REPL
Before we can start delving in the wonderful world of Julia, we need to be able to run Julia code.
We will deal with two ways to run Julia code: the first one is through the Julia REPL, the latter is through the Juno IDE.
To install Julia and VSCode, please follow this guide!
REPL
Once you start the Julia executable you will see something like this:
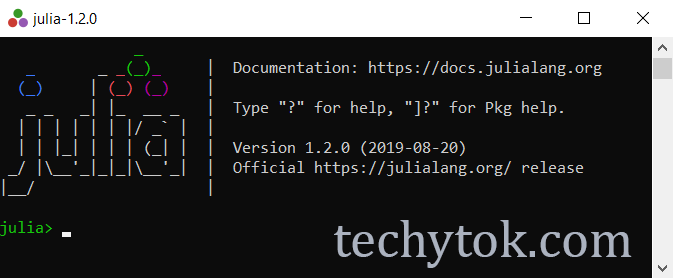
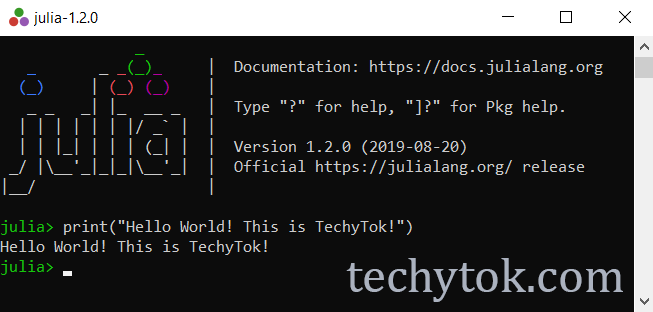
This prompt is called the REPL: from here you can write and run Julia code. To test if everything is working as intended, please type:
print("Hello World! This is TechyTok!")
and press enter, you should see something like this:
That’s it, during the next lessons simply type the code snippets inside the REPL to run them.
Although you can copy paste the code, I encourage you to type it yourself as it is useful to better remember the lesson!
VSCode
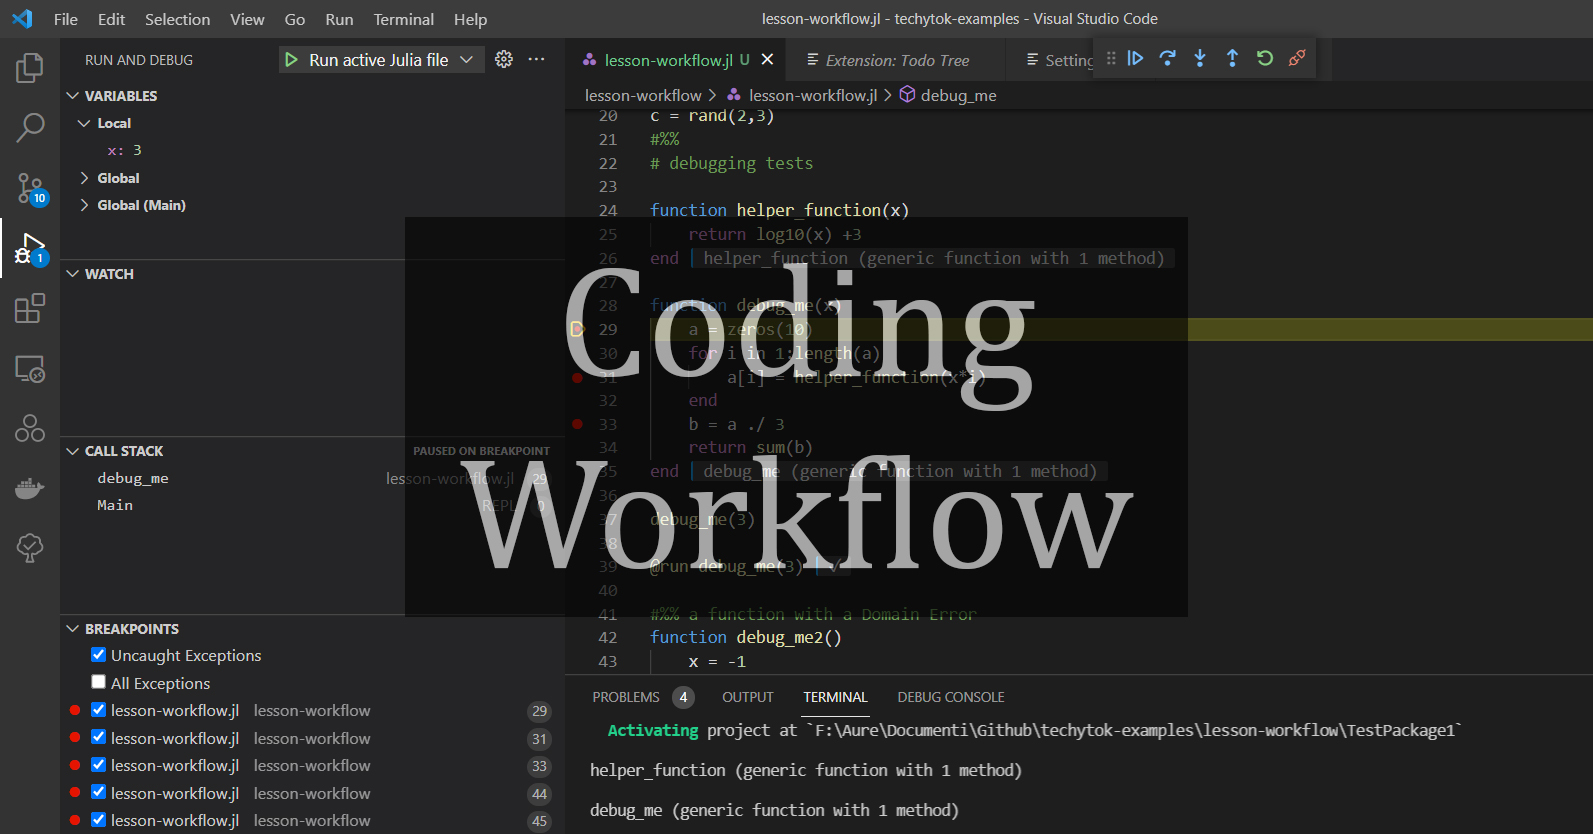
Sometimes, especially when your code starts to become pretty lengthy, it is useful to organise it in scripts, i.e. files ending with the .jl extension. VSCode lets you edit such files and run them directly line by line from the editor.
To run a line of code, simply click on the line and press Alt+Enter.
To run a block of code altogether, include it between #%% annotations like this:
#%%
println("hello")
println("from")
println("TechyTok!")
#%%
and press Alt-Shift-Enter .
I encourage you to take a look at the official documentation for further details on how to use VSCode.
Conclusions
You should now be able to run Julia code either in the REPL or inside VSCode and you are now ready to move on to the first real lesson on Julia!


Leave a comment