VSCode: the future for Julia development
In this tutorial you will learn how to install install Julia and setup VSCode with the Julia extension to start developing in a friendly and feature rich environment.
Introduction
Visual Studio Code is a free and open source text editor. With its many plug-ins, it can be customized to satisfy all the needs of a researcher/programmer.
A bit of context: in the past years there have been two main IDE projects for Julia: the Juno project for Atom and the Julia VSCode extension project, but now things have changed! Starting from an exiting announcement made at JuliaCon2020, both development teams have joined their efforts in making a single better extension for VSCode: Julia for VSCode. Currently Juno has been put in maintenance mode, meaning that it is still perfectly functional, but new features will be added only to the VSCode extension. In case you were uncertain whether it would be better to use Juno for Atom or VSCode, it is thus suggested to use the VSCode extension rather then Juno.
In this tutorial we will first learn how to install Julia and then we will setup VSCode.
Install Julia
Depending on your operating system, you will need to download the appropriate Julia package from julialang.org/downloads/. It is suggested that you install the latest stable version (currently 1.7)
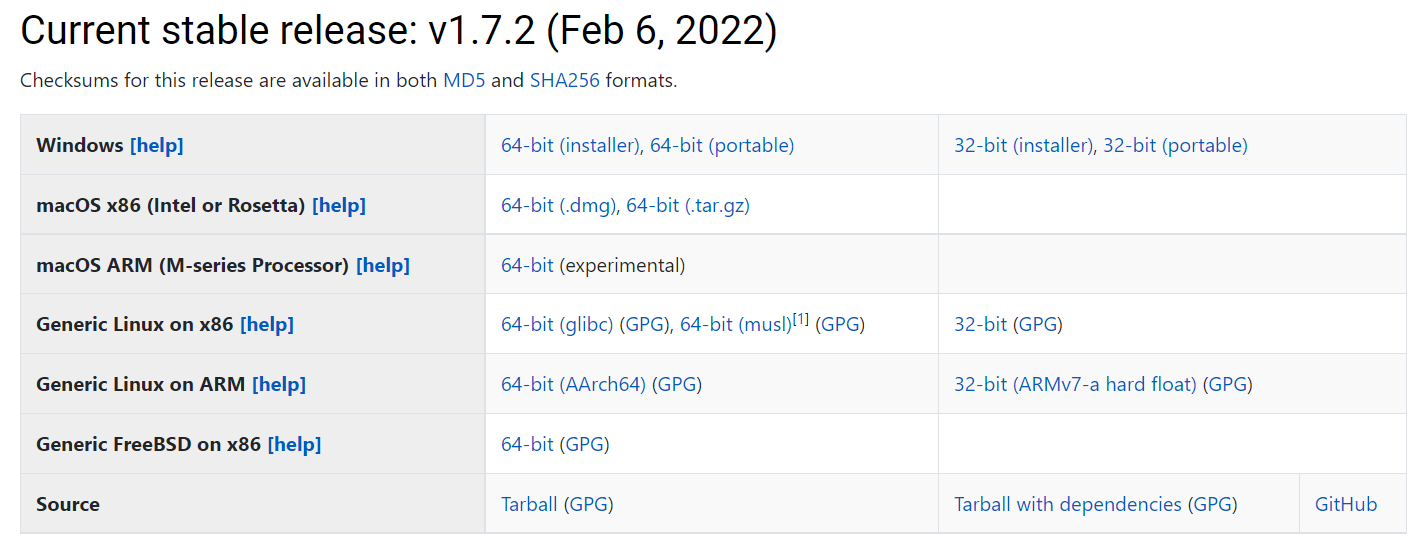
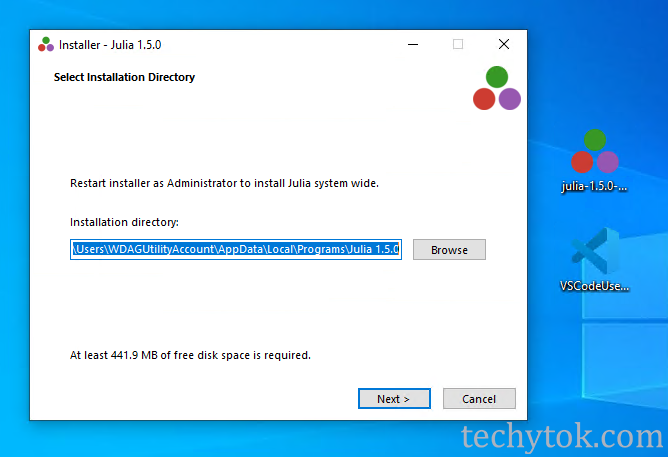
If you have Windows or OSX, just download and run the installer and follow the instructions. When you are prompted to choose an installation directory, I suggest you to choose your home directory: this way it will be easier when time comes to upgrade Julia to the next version. Nonetheless, the default directory should be fine. Please take note of where you installed Julia, since we will need this path when we setup VSCode.
If you are a Linux user, you should download and extract the archive into an appropriate folder (pay attention to the architecture of the binaries you are downloading!). Usually a good option is to unpack the julia binaries in your home directory.
You can find additional information on how to install Julia here.
I advise you to add julia to path during the installation (Windows) to make it easier to configure VSCode, and to call Julia directly from the terminal. If you use Mac or Linux, I advise you to add julia to path by editing your .bashrc or .zshrc and adding something like this (properly modified in accordance to where you saved the julia binary):
export PATH="$PATH:/path/to/<Julia directory>/bin"
Once you have installed Julia successfully, you can move to the next section: installing VSCode!
Visual Studio Code
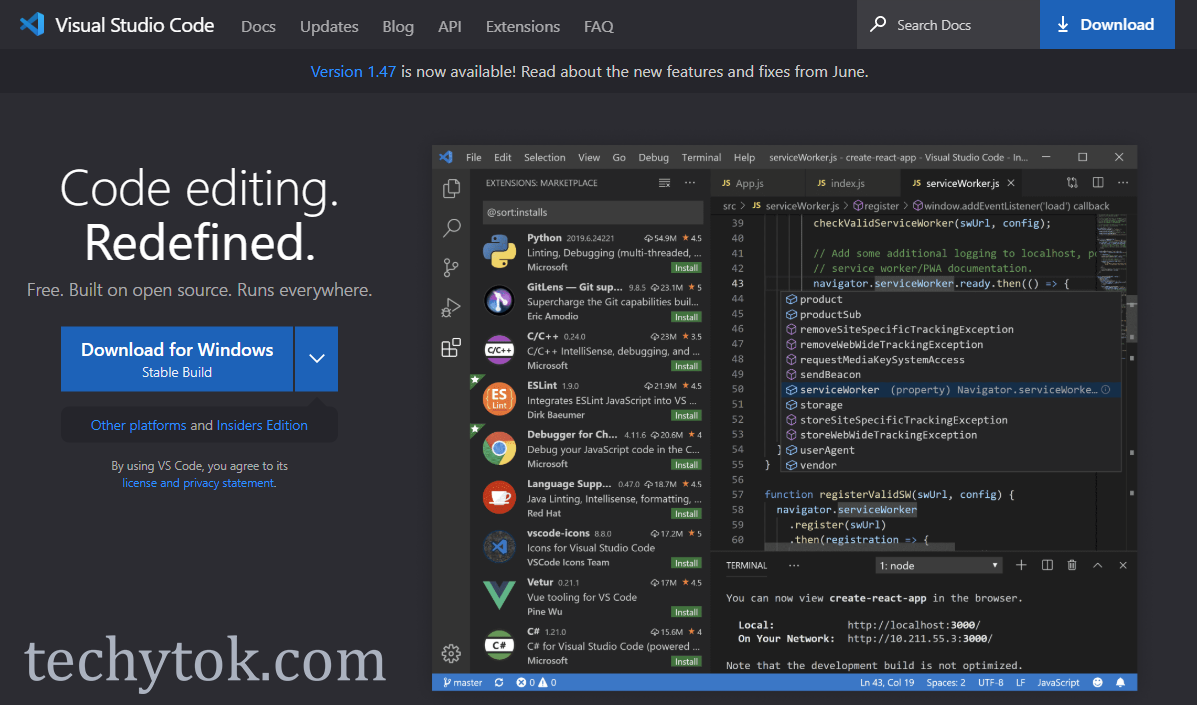
You can get VSCode from its download page: https://code.visualstudio.com/Download
Please run the installer and start VSCode.
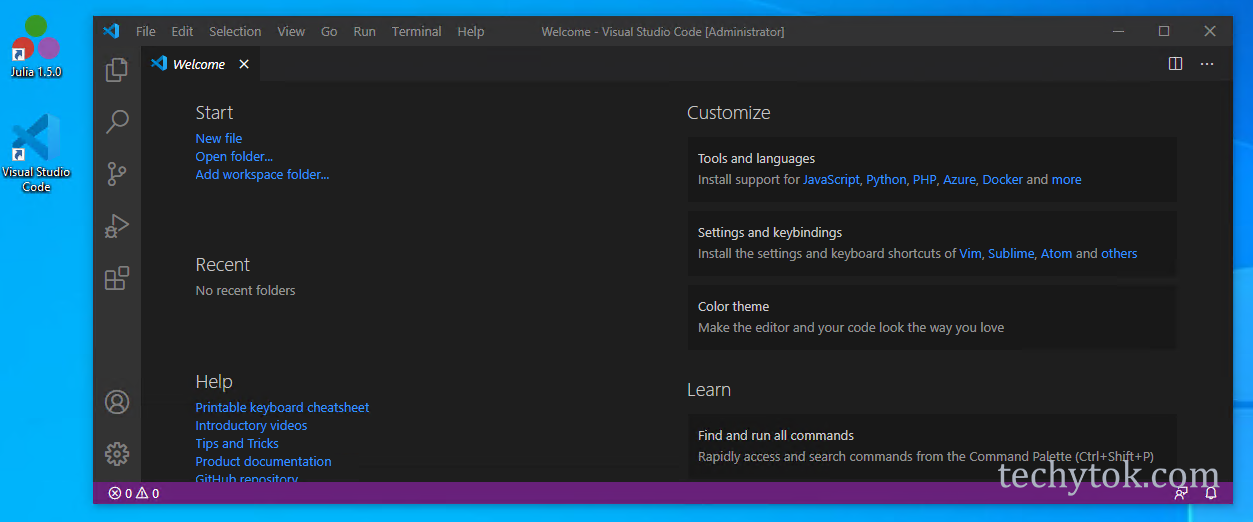
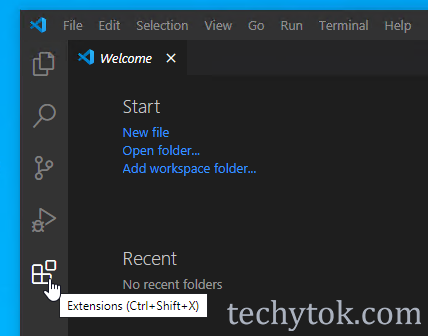
Once you have installed VSCode, we need to install the Julia extension. Please click on the extension button in the menu on the left:
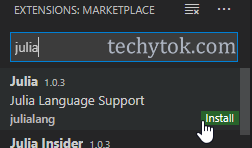
Type Julia in the search bar and click install to install the Julia extension:
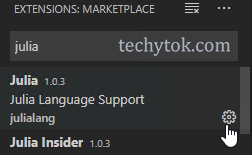
Once you have installed the Julia extension, we need to open the settings tab. To do so, click on the little cogwheel icon next to the name of the extension and click extension settings
Now find the file called Julia: Executable Path and type the path to your Julia executable:

If you are used to working with Juno or want to work in a notebook-like environment, I suggest to you enable inline results. To do so, look for the Execution: Result Type entry and select inline.
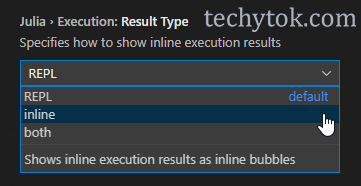
This way, when you run a piece of code, you will see the results of the computation next to the line corresponding to the instruction.
Writing code
We are now ready to create our first Julia script and run it inside VSCode!
Click on the “file” icon in the left toolbar and open a folder where to save your first Julia script.
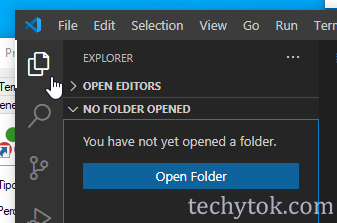
A good initial location for your Julia code could be a folder called julia-scripts in your documents folder. Now click the “new file” icon to create your first piece of Julia code:
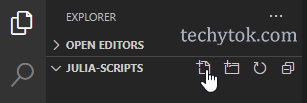
Now chose a name for your file and terminate it with the .jl extension, to denote that it is a Julia file. A good example could be hello.jl.

You can now open your newly created file and type a piece of code. Please copy paste the following code:
print("Hello! This is TechyTok!")

To run this line of code, place the cursor on the line and press Shift+Enter to run this single line of code. A new terminal window should open in the lower part of VSCode and you should see something similar to this:

This window is called the REPL and it is a Julia command prompt. When you press Shift+Enter, the code written on the .jl file gets sent to the REPL, where it is evaluated (it is actually a little bit more complicated than this, if you are interested please read this documentation page). In particular, the command print prints a message in the REPL.
The default shortcuts for commands may change depending on the extension version and the operating system. Furthermore, please notice that the first time you start Julia inside VSCode, it will have to load the extension which might take a while. If you receive an error saying that the Language Server is not running, or if your code is not being executed, please wait a minute and retry.
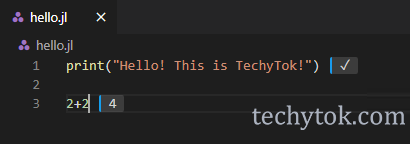
Let’s see another example. If you type 2+2 and press Shift+Enter you will get, as an inline result, 4:
Code cells
If you want to write several lines of code end execute them all at once, you can create a code cell.
To create a code cell, enclose a one or more lines of code between #%% symbols:
#%% this is a code cell
println("Hello")
println("This is TechyTok!")
#%%
To execute a code cell, place you cursor inside a code cell and press Alt+Enter. If you want to create another code cell right after the previous one there is no need to type #%% again, it is sufficient to type #%% once it is finished.
#%% this is a code cell
println("Hello")
println("This is TechyTok!")
#%% this is another code cell
println(42)
#%%
Please note that since # is the character that denotes the beginning of a comment line in Julia, after #%% it is possible to write any comment to specify the content of the code cell, which makes the code much more readable.
Whenever you feel like you need to add a note to the code, just add a # at the end of the line and write whatever you want. This will help you in the future when you read your code again and you need to remember what you were doing.
If you are new to coding, I suggest you to make a .jl file for each one of your small projects. In that file, you will write all your functions on the top, and use them on the bottom part of the script. If you decide to group your code in cells (#%%), which I strongly advise when you are writing your first pieces of code, you should write a small annotation before every cell to remember what they do.
If you are interested to see some of the more advanced features of VSCode, please refere to the lesson on VSCode workflow and profiling. For more informations about the Julia extension for VSCode, please visit the official website and read the documentation. At the time of writing this guide, the documentation for the Julia VSCode extension is not yet complete and many pages are still missing since many new features are being ported from Juno to VSCode, but in the near future you can expect a rich and complete documentation.
Conclusions
In this lesson we have learnt how to install Julia and how to setup VSCode with the Julia extension. We have learnt how to create files in VSCode and how to run both lines of code and code cells.
Now that you have a working development environment for Julia, you can move on and start learning with the first lesson on variables and types. If you are and advanced user, you may be interested in this guide on how to use docker containers with Julia and VSCode in a simple and seamless way.
I leave you with a video demonstration by David Anthoff (one of the developers behind Julia for VSCode) which was broadcasted during JuliaCon2020:
If you liked this lesson and you would like to receive further updates on what is being published on this website, I encourage you to subscribe to the newsletter! If you have any question or suggestion, please post them in the discussion below!
Thank you for reading this lesson and see you soon on TechyTok!


Leave a comment